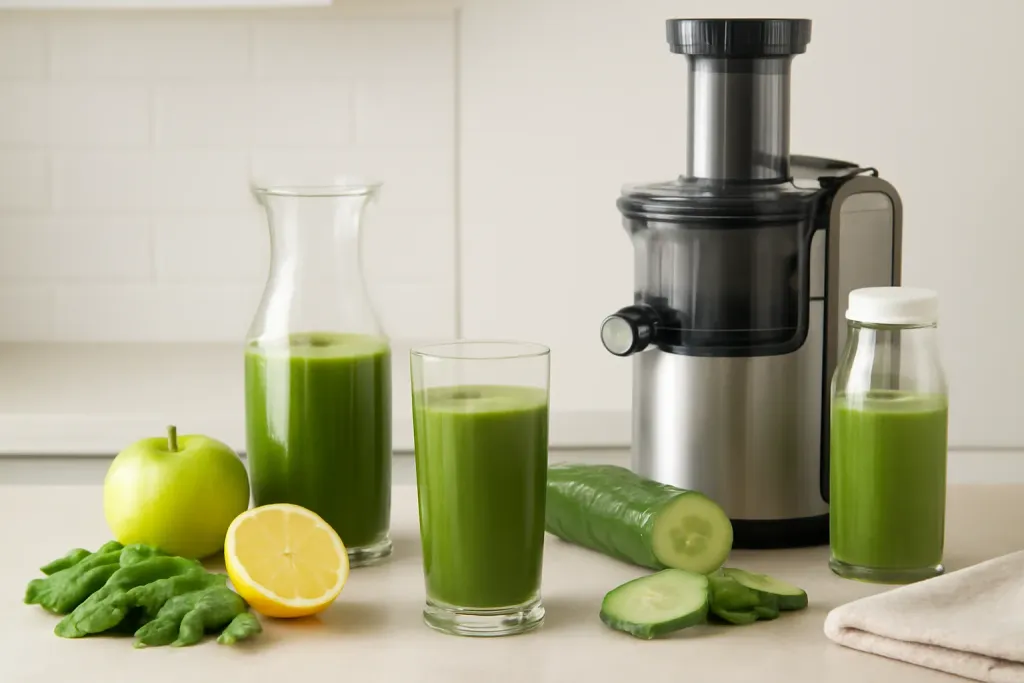
Why a Juicer Cleaning Brush Guide Matters
A good juicer cleaning brush guide is less about buying a single tool and more about building a simple cleanup routine. Juicers and blenders often have narrow strainers, small pulp openings, rubber seals, and hard-to-reach corners that can trap fiber and residue after use. If you juice often, the right brush and a few helpful accessories can make cleanup faster, reduce scrubbing, and help keep parts organized between uses.
This topic is especially useful for beginners who are setting up a home juicing station. Many people focus on the machine itself, then realize later that cleaning takes more time than making the drink. A thoughtful accessory setup can make the difference between a juicer you use regularly and one that stays in the cabinet. The goal is not to overbuy; it is to choose a few practical tools that fit the equipment you already own.
When comparing brushes and accessories, it helps to think about the parts you clean most often: feed chute, lid, strainer basket, pulp container, silicone gaskets, and blender jars. Different surfaces need different tools. A soft brush may work well for delicate seals, while a stiffer bristle brush can help with pulp buildup in mesh parts. Keeping this simple is the easiest way to build a cleanup routine that actually sticks.
Brush Types That Fit Common Juicer Parts
Not every cleaning brush serves the same purpose. In a juicer cleaning brush guide, it helps to sort tools by the part they are meant to clean. A bottle-style brush is useful for jars and larger channels. A narrow detail brush can reach tight seams, small outlets, and corners around lids. A longer-handled brush can help keep your hands away from wet pulp and reduce the time spent reaching into deep parts.
For mesh strainers and fine screens, many shoppers look for a brush with firm but not overly harsh bristles. The aim is to move residue through the mesh without damaging the surface. For rubber gaskets, soft silicone brushes or gentle nylon brushes may be a better match. Silicone scrubbers can also be useful for wiping away slippery fruit residue from smooth plastic parts.
Some accessories come in multi-piece sets with several brush shapes. That can be convenient if you use more than one appliance, such as a cold press juicer, centrifugal juicer, and countertop blender. Still, a large set is only helpful if you will actually use each piece. If you prefer a minimal setup, start with one brush for jars and one smaller brush for detail cleaning.
- Use a bottle brush for jars, pitchers, and larger chambers.
- Use a narrow brush for seams, corners, and small openings.
- Use a gentle brush or silicone tool for seals and gaskets.
- Use a firm brush for strainers and mesh parts when residue is stuck.
Materials and Features to Check Before Buying
When choosing a juicer cleaning brush, the material matters more than the packaging claims. Bristles are commonly nylon, silicone, or a combination of both. Nylon bristles often provide more scrubbing power for fiber and pulp, while silicone can be easier to rinse and may feel gentler on smooth parts. Handles may be plastic, bamboo, or metal, and the best choice depends on how you plan to store and dry the tool.
Look for a brush that feels comfortable in the hand. A non-slip grip can help when your hands are wet. A hanging hole or loop can be useful if you air-dry accessories near the sink. If a brush has a removable head, check whether replacement parts are easy to keep track of in your storage area. If you wash accessories in the dishwasher, make sure the item is labeled for that use before assuming it can handle heat and detergent.
Another feature to consider is shape. Curved or angled brush heads can make it easier to reach the bottom of tall jars and the corners of machine lids. Flat scrubbers can be useful for broad surfaces, while tapered tips help with tighter spaces. A practical rule is to match the brush shape to the part you clean most often rather than buying based on appearance alone.
- Choose bristles that match the level of residue you usually clean.
- Check whether the handle is comfortable when wet.
- Look for easy drying and simple storage features.
- Confirm cleaning instructions before assuming dishwasher safety.
Accessories That Make Cleanup Easier
Brushes are the main tool, but a few small accessories can make cleanup smoother. A sink caddy or drying tray helps keep wet parts from crowding the counter. A microfiber cloth can be handy for drying lids, bases, and exterior surfaces after washing. A small scraper or spatula can help lift out thicker pulp from containers before you rinse them, which reduces the amount of scrubbing needed later.
If you use a lot of leafy greens or fibrous ingredients, consider a dedicated pulp bowl or compost bin near your prep area. This keeps the workspace organized and makes it easier to empty pulp before it dries. A small basin or dishpan can also help if you prefer soaking removable parts in warm water while you clean other items. The point is to reduce friction between juicing and cleanup so that the process feels manageable on busy mornings.
For people who store appliances in a cabinet, drawer dividers or small containers can keep brushes from getting lost among other kitchen tools. Separating juicer tools from general dish brushes can also make cleanup more efficient because you are less likely to mix up tasks. If your home setup includes both a juicer and a blender, a clearly labeled storage spot saves time when you are preparing green juice, smoothies, or simple fruit blends.
- Use a sink caddy or tray to dry parts neatly.
- Keep a scraper or spatula for thicker pulp.
- Use a microfiber cloth for exterior drying.
- Store juicer tools in a dedicated container or drawer.
Browse our recommended products
Our featured picks refresh periodically. While we update them, our editorial guides can help you find the right pick.
See our guidesHow to Clean Common Juicer Parts
A practical cleaning routine starts with separating the removable parts right after use. The sooner you rinse, the less chance residue has to dry on the screen, lid, or chamber. Start by emptying pulp, then rinse each removable piece under warm water. This first step usually removes enough loose material that the brush can do its job more effectively.
For strainers, use a brush with short, controlled strokes rather than aggressive scrubbing. Work from the inside outward if possible so residue moves away from the mesh. For lids and feed chutes, a wider brush can cover more surface area quickly. For gaskets and seals, use a softer brush and pay attention to grooves where pulp can collect. If a part has multiple small crevices, a narrow detail brush can help finish the job.
Blender jars follow a similar routine. Fill the jar partway with warm water and a small amount of mild dish soap, then use a bottle brush to clean the sides and base area. Rinse thoroughly afterward. For stubborn residue, it is usually better to soak briefly and then brush again than to force heavy scrubbing on a delicate part. Always check the manufacturer’s cleaning instructions for any part that has special handling needs.
- Disassemble the removable parts.
- Rinse away loose pulp and residue.
- Brush strainers, chutes, lids, and seals with the right tool.
- Wash and rinse thoroughly.
- Air-dry before reassembly or storage.
Storage and Drying Tips for Small Kitchens
Good storage is part of a good juicer cleaning brush guide because even the best brush is frustrating if it disappears into a cluttered drawer. Keep the most-used tools in one visible place near the sink or appliance cabinet. A small cup, bin, or hanging hook can work well for brushes, while a shallow tray can hold lids, gaskets, and other removable parts as they dry.
Drying matters because trapped moisture can leave parts feeling sticky or make storage messy. Air-drying on a rack or tray is usually easier than stacking wet pieces on top of each other. If you live in a small space, vertical storage helps. For example, a narrow caddy can hold brushes upright, while a divided box can separate small seals from larger components. Labeling containers is also useful if several people use the same kitchen and need to find the right tool quickly.
For people who juice in batches, consider a simple reset routine at the end of the day. Put brushes back in their home, dry the counter, reassemble only the parts that are fully dry, and keep accessories together for the next use. This small habit prevents the cleanup tools from becoming part of the clutter.
- Store brushes in a visible, dedicated spot.
- Use a tray or rack for air-drying parts.
- Separate small seals and gaskets from larger pieces.
- Keep juicing tools together to reduce counter clutter.
Beginner-Friendly Juice and Smoothie Prep Habits
Accessory choices are easier when your prep routine is simple. Beginners often benefit from washing and trimming produce before the machine comes out, since that reduces mess around the sink and cutting board. If you regularly make green juice or smoothies, keep a small prep station with a cutting board, knife, brush, scraper, and storage bowl close together. That way, the cleanup tools are easy to reach as soon as you finish.
Ingredient choices also affect cleanup. Leafy greens, celery, ginger, citrus, and berries are common home ingredients, but each leaves a different kind of residue. Fibrous ingredients may call for more strainer brushing, while sticky fruit residue may need a rinse and a quick pass with a bottle brush. If you use both a juicer and a blender, separate the accessories so the right tool is always available without digging through a crowded drawer.
For a beginner-friendly routine, many home cooks keep the first drink of the day simple and the cleaning routine equally simple. Make the parts you use most easy to reach, and avoid buying specialty accessories you will not need. A small, well-chosen set of brushes and storage helpers is usually enough to support everyday juice and smoothie prep.
- Prep produce before turning on the machine.
- Keep cleaning tools within arm’s reach of the sink.
- Match the brush to the residue type and appliance part.
- Separate juicer and blender accessories for easier cleanup.
Final Purchase Checklist for Home Buyers
Before buying anything for your kitchen, use a simple checklist. First, think about the appliances you already own. A brush that fits a blender jar may not be ideal for a fine mesh juicer strainer. Second, think about how often you clean. Daily users may want a more durable brush with a comfortable grip, while occasional users may only need one or two basic tools. Third, think about storage. If you do not have a clear place for accessories, even a useful set can become inconvenient.
It is also worth reading product descriptions carefully so you know what is actually included. Some listings show multiple tools, but not all of them will be useful for your setup. Look for clear cleaning instructions, material details, and size information. Avoid assuming that a set with more pieces is automatically the better choice. A smaller set that matches your juicer, blender, and kitchen storage space may be the more practical purchase.
A simple, effective setup often includes one general-purpose brush, one detail brush, a scraper or spatula, and a dry storage spot. That is enough to support regular juicing without creating extra clutter. The best accessory guide is the one that helps you clean up quickly and keep using the equipment you already have.
- Match tools to the juicer and blender parts you actually use.
- Check material and cleaning instructions before buying.
- Make sure you have a place to dry and store accessories.
- Favor a small, practical set over a crowded drawer of extras.